 Lawrenceville Slab Leak Detectors
Slab Leak Detection Visit: What Happens and How to Prepare
A slab leak detection visit in Lawrenceville starts with your notes and bills, then pressure and meter tests, then acoustic listening or thermal imaging to mark the leak. Homeowners in Downtown Lawrenceville and Collins Hill, ZIPs 30046 and 30043, should clear access to fixtures and the meter first.
Key takeaways
- Gather before the visit: bills showing the jump, meter readings with dates, photos of damp or warm spots, and a note of when each sign started.
- Clear access to the meter, water heater, fixtures, and the rooms where signs show — detection moves faster with clear access.
- Expect tests in order: meter and pressure first, then listening or imaging, then a marked location and a written next step.
- No duration or report format is promised here — ask the technician what their visit includes when you book.
What this looks like in a Lawrenceville home
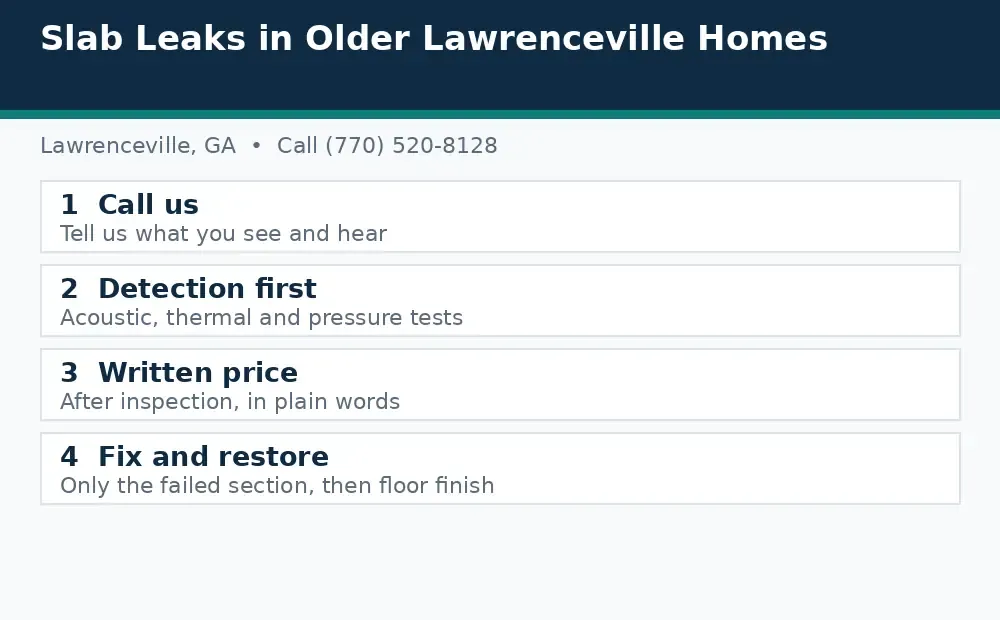
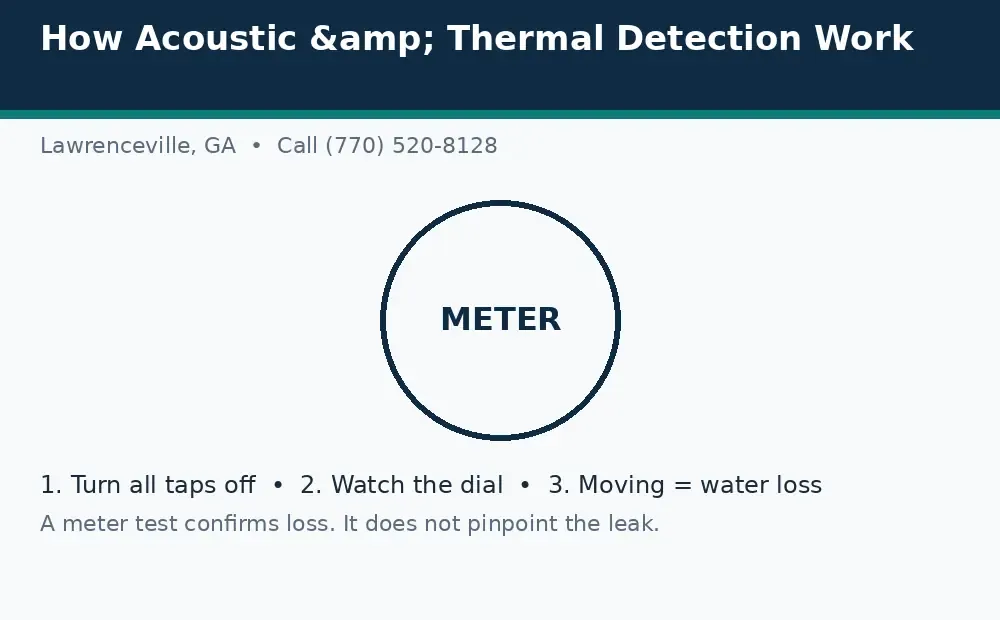
The working photo on this page is an illustrative working photo, not a photo of a specific job at a specific address. The diagrams are schematics, not to scale, made to explain the signs, process, options, or costs on this page in plain words. Call us at (770) 520-8128 if you are unsure what you are seeing.
What happens first when the technician arrives?
The visit usually starts with conversation, not equipment. The technician will ask what you noticed, when it started, which rooms show it, and what your bills and meter have done. That conversation is not small talk — it narrows the search before a single instrument comes out. A bill jump that started two months ago points differently from a damp patch that appeared yesterday, and a warm floor points at a hot-water line while a bill jump alone points anywhere. The notes and readings you gathered beforehand turn that conversation from guesswork into a starting map.
Bring the specifics: the bill comparison with the same period last year, the meter readings with their dates, photos of any damp, warm, or cracked area, and a list of suspects you already ruled out — toilets isolated, bibs checked, irrigation off — if you ran the mimics checks first. If you used the symptom checker, bring that result too, as a list of what you ticked rather than as a diagnosis. A technician who starts with your evidence starts closer to the leak than one who starts cold, and the visit goes faster for it.
What tests run during a detection visit?
Testing follows a narrowing order. The meter test comes first where it has not already been done: everything off, read, wait, read again, establishing whether water is being lost right now. Pressure testing follows, separating the system to show which side loses pressure — hot-water, cold-water, or drain — which immediately narrows the search to one part of the system. Only then do the locating tools come out: acoustic listening for pressurised lines, thermal imaging for hot-water lines, and camera inspection where a drain line is the suspect. Each tool answers a different question, and the sequence matters because each step makes the next step's search area smaller.
What the visit does not do is open floors to look. Detection is a non-destructive investigation: its product is a marked location and an identified line, not an opened slab. If a technician proposes opening a floor before location work is complete, that is a reason to pause and ask why — the honest answer may involve a specific situation, but it should be an explanation, not an assumption. The detection service page describes the sequence in more detail, and the detection methods guide in this batch explains what each method can and cannot show, including the limit that a meter test confirms loss but cannot place it.
How should I prepare the house before the visit?
Clear access, and do it the day before if you can. Move stored items away from the water meter, the water heater, and the fixtures in rooms where signs show, so the technician can reach test points without moving your belongings. Note where the main shut-off is, and make sure it is reachable — if it is buried behind storage, clear that first, because the visit may need it. Keep pets secured and children aware that a visitor will be testing taps and listening at floors; a quiet house helps acoustic listening more than most homeowners realise, so plan the visit for a time when the house can be reasonably still.
Do not prepare by tidying away the evidence. Leave damp patches visible, do not cover a warm spot with rugs, and do not run a dehumidifier over the area just before the visit in a way that hides the sign — the technician needs to see what you saw. Photograph everything before the visit anyway, so the record survives whatever happens during it. If the sign is in a room with expensive flooring, say so at the start of the visit, so the technician knows what is at stake if any opening is later proposed. For homes in Downtown Lawrenceville and ZIP 30044, access quirks — a meter behind a locked gate, a heater in a tight closet — are worth mentioning when you book, not discovered on arrival.
What do I get at the end of the visit?
At the end of a detection visit you should receive, in plain words: whether a leak was found, which line it is on, where it is located as marked, what the evidence was, and what the recommended next step is — including, where a repair follows, a written price after inspection for that repair. Ask for that summary in a form you can keep, whether written or emailed, because the visit's value lives in that record: it is what an insurer wants, what a second technician would build on, and what you will refer back to when deciding between repair options. If the visit finds no leak, that is also a result, and it should come with the same clarity: what was tested, what was ruled out, and what to watch or re-test.
This post deliberately promises no visit duration and no specific report format, because neither has been specified for this site, and inventing either would mislead you. When you book, ask what the visit includes, how long to allow, and what form the findings take — and judge the answers as part of choosing the service. If the findings point to a repair, the next conversation is the one covered by the questions before approving guide in this batch: method, opening, restoration, and itemised price, all before approval. Detection is the step that makes that conversation possible, because it replaces 'somewhere under the house' with a place, a line, and a plan.
What if the visit cannot find the leak?
Sometimes detection narrows but does not pinpoint, or finds no active loss at all. That outcome is frustrating, but it is not a wasted visit: it rules out sections, rules out lines, and establishes a baseline for monitoring. The right response is a plan, not a shrug — what was ruled out, what remains possible, what to monitor (meter readings on a schedule, bill comparisons), and when to re-test. Intermittent leaks, drain-side leaks that only show under use, and mimics that were not yet ruled out are the usual reasons a first visit ends without a mark, and each has a different next step.
If no leak is found, keep the routine going rather than filing the visit away: scheduled meter tests, dated notes of any returning sign, and a prompt call if the pattern changes. And if a second visit is needed, the first visit's record makes it faster, because the ruled-out sections stay ruled out. The FAQ added to the detection page in this batch answers the no-leak question directly, and the honest principle behind it is worth stating here: a detection visit that finds nothing, properly documented, is a genuine result, not a failure — it is how a homeowner stops guessing and starts monitoring with evidence.
Visit preparation checklist
| Prepare | Detail | Why it helps |
|---|---|---|
| Bills | Comparison vs same period last year | Shows the loss pattern and start date |
| Meter readings | Both readings, with dates | Proves current loss, sizes it |
| Photos | Damp, warm, cracked areas, dated | Preserves signs before the visit |
| Ruled-out list | Toilets, bibs, irrigation checked | Shortens the search |
| Access | Meter, heater, fixtures, sign rooms clear | Tests run without delay |
| Quiet house | Plan a still period for listening | Acoustic work needs quiet |
Do not hide the signs before the visit: leave damp and warm areas visible so the technician sees what you saw.
Gather Bills, readings, photos, and a dated note of when each sign started.
Clear Meter, heater, fixtures, and sign rooms — access first, testing second.
Test Meter and pressure first, then listening, imaging, or camera as the line dictates.
Record Leave with a kept summary: found or not, line, location, evidence, next step.
What to tell us when you call
When you call, tell us what you noticed, when it started, and where in the house it shows. Mention your ZIP code, whether the water meter moves with everything off, and whether the sign is on a hot-water or cold-water line if you know. That short list helps the technician bring the right equipment and plan the visit. You do not need to know the cause before you call — that is what detection is for.
Call (770) 520-8128 and describe what you are seeing in plain words. We will talk through the next step and arrange a detection visit.
Call Us Today
Fast local slab leak detection and repair in Lawrenceville, GA, ZIPs 30043–30046.
Call Us: (770) 520-8128Frequently asked questions
How long does a detection visit take?
No duration is promised here, because none has been specified for this site. Ask when you book what the visit includes and how long to allow, and plan a quiet period in the house for listening work.
Should I be home during the visit?
Yes. The visit starts with your account of the signs, and decisions about next steps are easier made with you present. Clear access beforehand so the testing time is spent testing.
Will the technician open my floor during detection?
No — detection is non-destructive investigation. Its product is a marked location and an identified line. Floor opening belongs to the repair step, after location and a written price.
What if the visit finds no leak?
That is a genuine result: what was tested, what was ruled out, and what to monitor next. Keep scheduled meter tests and dated notes, and call promptly if the pattern changes.
What should I have ready when I call to book?
The signs, when each started, your ZIP code, the meter result if you have one, and any access notes such as a gated meter or a tight heater closet.