 Lawrenceville Slab Leak Detectors
Slab Leak Detection Methods Explained
Slab leak detection in Lawrenceville uses a sequence: a meter test confirms loss, pressure testing narrows the side, acoustic listening locates leaks, thermal imaging maps leaks, and a camera inspects drains. Downtown Lawrenceville and Collins Hill homeowners, ZIPs 30046 and 30043, should understand what each method can and cannot do.
Key takeaways
- Meter test first: it confirms water is being lost, but it cannot say the loss is under the slab.
- Pressure testing narrows the search to hot-water, cold-water, or drain — the most valuable narrowing step.
- Acoustic listening locates pressurised leaks; thermal imaging maps hot-water warmth; cameras inspect drains.
- Tracer gas is a method a technician may use for leaks too quiet to hear — it is not listed as a service here.
What this looks like in a Lawrenceville home
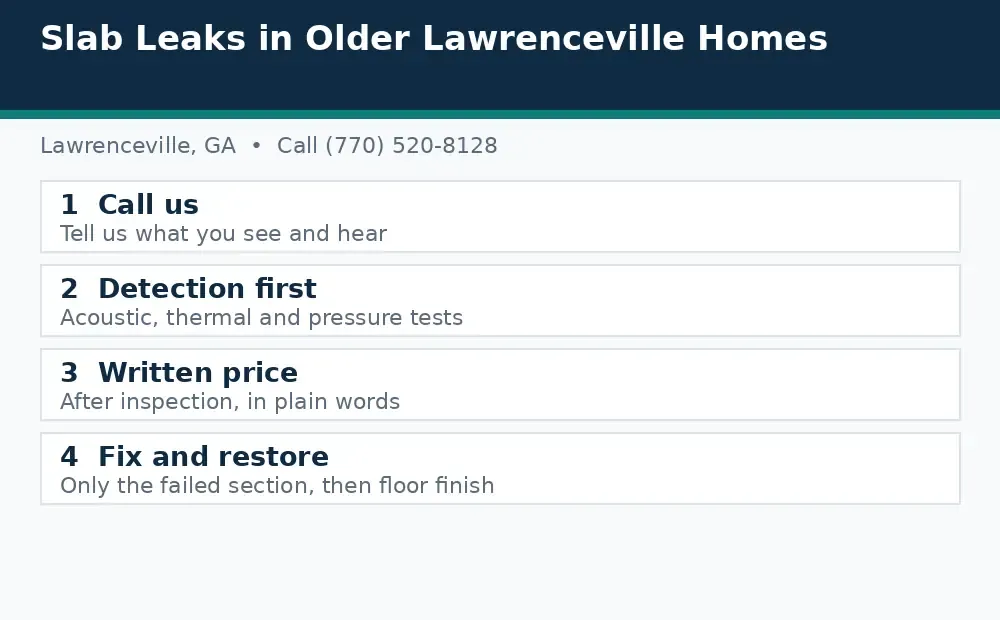
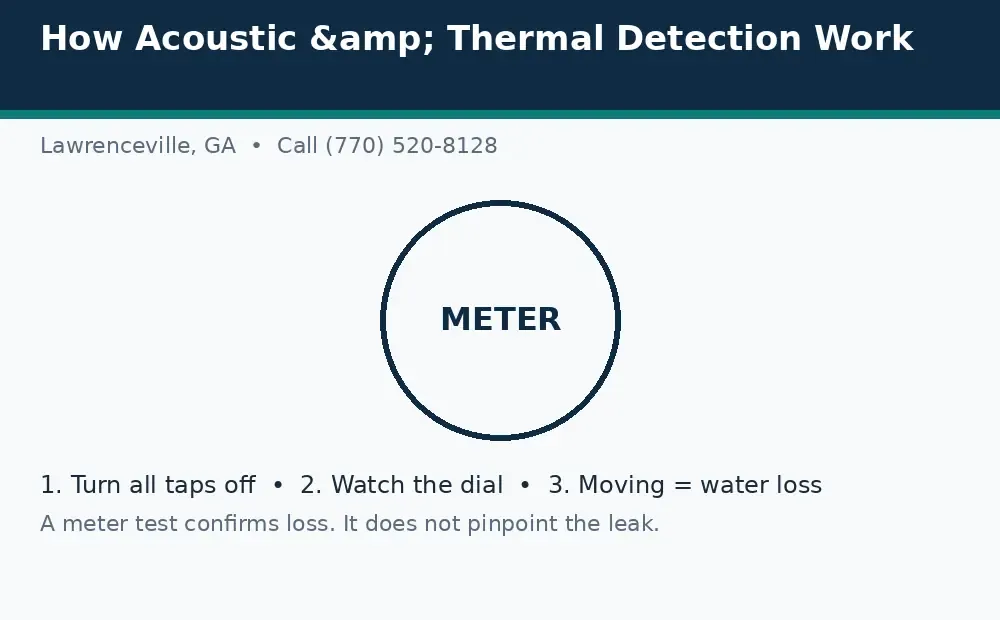
The working photo on this page is an illustrative working photo, not a photo of a specific job at a specific address. The diagrams are schematics, not to scale, made to explain the signs, process, options, or costs on this page in plain words. Call us at (770) 520-8128 if you are unsure what you are seeing.
Why is detection a sequence, not a single tool?
Homeowners sometimes imagine detection as one device waved over a floor that beeps at the leak. The reality is a sequence, because each method answers a different question and none answers all of them. The meter test answers 'is water being lost right now'. Pressure testing answers 'which side of the system loses pressure'. Acoustic listening answers 'where, along a pressurised line, does escaping water sound loudest'. Thermal imaging answers 'where is the slab warm from escaping hot water'. A camera answers 'what does this drain line actually look like inside'. A visit that used only one of those tools would leave the other questions unanswered, and an unanswered question is how a floor gets opened in the wrong place.
The sequence also protects the homeowner's money. Each step narrows the search area for the next, so the expensive, precise work happens on a small area rather than a whole house. A visit that jumped straight to listening across every room would take longer and locate less reliably than one that first narrowed to the hot-water side and then listened along that side's route. Understanding the sequence therefore helps a homeowner judge a visit as it happens: if the steps arrive in narrowing order, the visit is proceeding professionally; if a single tool is presented as the whole answer, ask what the other questions were answered with. The detection service page describes the sequence as a service, and this post explains the reasoning behind it.
What do the meter test and pressure testing actually show?
The meter test is the homeowner's tool as well as the technician's: everything off, read the dial, wait, read again. Its result is binary in the most useful way — moving means water is leaving the system now, still means it is not, at least not through the supply side at that moment. Its limits are equally clear and worth stating plainly: it cannot say the loss is under the slab, because a toilet, a tap, or an irrigation fault moves a meter too; it cannot catch a drain-side leak, because drain water is not metered supply water; and it cannot catch an intermittent leak during a quiet interval. A meter result is a starting fact, never a location.
Pressure testing takes the next step by dividing the system. Each side — hot-water, cold-water, drain where testable — is isolated and pressurised, and the side that loses pressure is the side that leaks. That single narrowing step often halves or thirds the search, and it is the reason a good visit spends time on it before listening begins. Pressure testing also has limits: it identifies a side, not a spot, and a drain-side hydrostatic test gives a pass-or-fail for a drain section rather than a location within it. The location step still belongs to listening, imaging, or camera work, and the water meter test service page plus the meter test guide cover the first tool in full.
How do acoustic listening and thermal imaging work?
Acoustic listening uses sensitive ground microphones to hear pressurised water escaping through a hole or crack. The sound travels through the pipe, the soil, and the slab, and its loudness at each listening point maps the leak's position: loudest near the leak, fading with distance. It works best in a quiet house, on pressurised supply lines, where the escaping water makes a continuous sound. It works poorly where background noise competes, where the leak is on a drain line that carries no pressure, or where the loss is so small or so deep that its sound falls below what the equipment can separate from the house's own noise. Those are not flaws in the method; they are the boundaries within which it is the right tool.
Thermal imaging uses an infrared camera to visualise temperature patterns in the slab and floor. Escaping hot water warms the concrete above the leak, and that warmth shows as a pattern the camera reads — particularly useful on hot-water lines, where the temperature contrast is strong. It does not see through concrete to the pipe itself; it reads the slab's surface temperature, which is why insulation, floor coverings, sun exposure, and heating systems all affect the picture and must be accounted for. A thermal pattern without a meter and pressure result behind it is a warm patch looking for an explanation; combined with those results, it becomes a location. The acoustic page and the thermal page cover each method as a service, and the acoustic and thermal guide shows them working together.
When do cameras and tracer gas enter the picture?
A sewer camera enters when the suspect is a drain line. Drain lines carry no pressure, so acoustic listening cannot hear them, and their failures — cracks, offsets, root intrusion, bellies where water pools — are visible conditions, not sounds. A camera pushed through the line shows the interior directly: the crack, the offset, the root mass, the standing water. Paired with a hydrostatic test, which says whether a drain section holds water at all, the camera turns a drain suspicion into a located, characterised failure with a repair implication. The sewer detection page and the sewer camera guide in this batch cover that side in full.
Tracer gas is the method for leaks too quiet, too small, or too deep for acoustic work. A safe, detectable gas mixture is introduced into the isolated line, and a sniffer at the surface follows where the gas escapes — through the slab, through soil, to the point above the leak. It is a real professional method, and it is described here because homeowners researching detection will meet the term and deserve an honest explanation. It is not listed as a service on this site, and this post does not claim otherwise; where it appears in the detection method finder, it appears only as a method a technician may use when other methods are inconclusive. The same honesty applies to smoke testing for drain and vent failures: a real method, mentioned as a method, not claimed as a service.
How should I judge a detection visit by its methods?
Judge it by sequence, coverage, and candour. Sequence: meter and pressure first, then the locating method that fits the narrowed side, then a marked location. Coverage: the method used should match the suspected line — acoustic or thermal for supply, camera for drains, tracer gas only where acoustic falls short. Candour: the technician should volunteer what each result did not show, what remains uncertain, and what would change the conclusion. A visit that reports a marked location with its evidence chain — meter moved, hot side lost pressure, listening loudest at this point — is a visit you can approve a repair from. A visit that reports a location with no chain is a visit to question, however confident it sounds.
Also judge what happens after location. A marked point should lead to a written next step: the repair method, why it fits, what gets opened, who restores, and the itemised written price after inspection — the conversation covered by the questions before approving guide. Detection without that next step is an unfinished job, however accurate the mark. For homes in Downtown Lawrenceville and Collins Hill, the method sequence is identical across ZIPs 30043–30046; what varies is the house — its lines, its flooring, its noise level — and a good visit adapts the sequence to the house rather than forcing the house through a fixed routine.
Method-to-question map
| Method | Question it answers | What it cannot do |
|---|---|---|
| Water meter test | Is water being lost now? | Cannot place the loss; cannot catch drain leaks |
| Pressure testing | Which side loses pressure? | Identifies a side, not a spot |
| Acoustic listening | Where along a pressurised line? | Needs quiet; cannot hear drain lines |
| Thermal imaging | Where is the slab warm? | Reads surface temperature, not the pipe; hot lines best |
| Sewer camera | What does the drain look like inside? | Drains only; needs access |
| Hydrostatic test | Does this drain section hold water? | Pass/fail for a section, not a spot |
| Tracer gas (method only) | Where does gas escape? | Used when acoustic falls short; not listed as a service |
No single method answers every leak. The sequence is the method.
Confirm Meter test — loss exists, right now, or not.
Narrow Pressure test — hot, cold, or drain side.
Locate Listening, imaging, or camera — matched to the side.
Mark A marked location with an evidence chain, then a written next step.
What to tell us when you call
When you call, tell us what you noticed, when it started, and where in the house it shows. Mention your ZIP code, whether the water meter moves with everything off, and whether the sign is on a hot-water or cold-water line if you know. That short list helps the technician bring the right equipment and plan the visit. You do not need to know the cause before you call — that is what detection is for.
Call (770) 520-8128 and describe what you are seeing in plain words. We will talk through the next step and arrange a detection visit.
Call Us Today
Fast local slab leak detection and repair in Lawrenceville, GA, ZIPs 30043–30046.
Call Us: (770) 520-8128Frequently asked questions
Which detection method is best?
None in isolation. The best detection is a sequence: meter confirmation, pressure narrowing, then the locating method matched to the narrowed side — listening, imaging, or camera. Any single method leaves questions unanswered.
Can detection find a leak without opening anything?
Yes — that is the point. Detection is non-destructive investigation: its product is a marked location and an identified line. Opening belongs to the repair step that follows.
Why does my neighbour's leak need a different method from mine?
Because method follows line and conditions. A hot-water leak suits thermal imaging, a pressurised cold leak suits listening, a drain leak needs a camera, and a quiet leak may need tracer gas. Same house type, different leak, different tool.
Is tracer gas offered by this site?
No. Tracer gas is described here as a real professional method a technician may use when other methods are inconclusive. It is not listed as a service on this site.
What if detection cannot pinpoint my leak?
That is a genuine result with a next step: what was ruled out, what remains possible, what to monitor, and when to re-test. Intermittent and drain-side leaks are the usual reasons, and each has a different follow-up.